NetBox is a tool to combine functions like DataCenter Infrastructure Management (DCIM) and IP Address Management (IPAM) with powerful APIs into your infrastructure’s Source-of-Truth. NetBox is used by many organizations as their go-to tool for their infrastructure documentation. Today I am going to help you set this up on your Synology NAS. I’ll be using the Synology that I recently received.
I am assuming you don’t have anything installed on your Synology other than DSM. Skip the steps you have already done.
Aside from a Synology NAS, a GitHub account is required. If you do not already have one, you can create one on the GitHub Sign-up page.
Preparation
To get things started, follow the steps in How to run Docker and Portainer on your Synology NAS before continuing.
NetBox
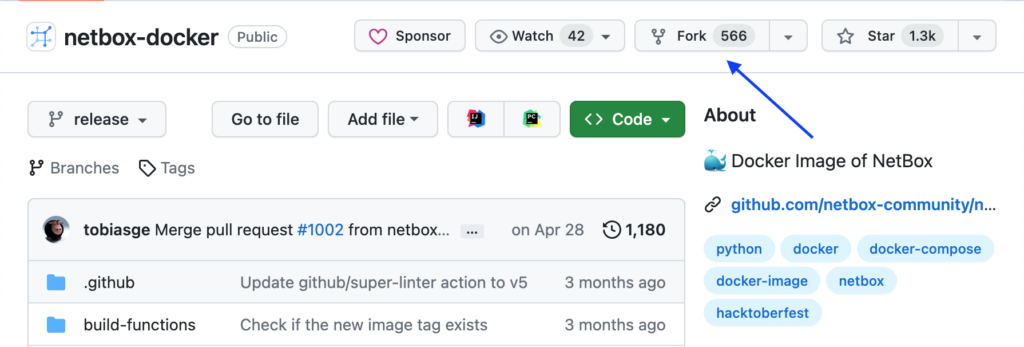
To start, we need to fork the NetBox-Docker GitHub repository, make sure you are logged in, go to the webpage, and click on Fork on top.
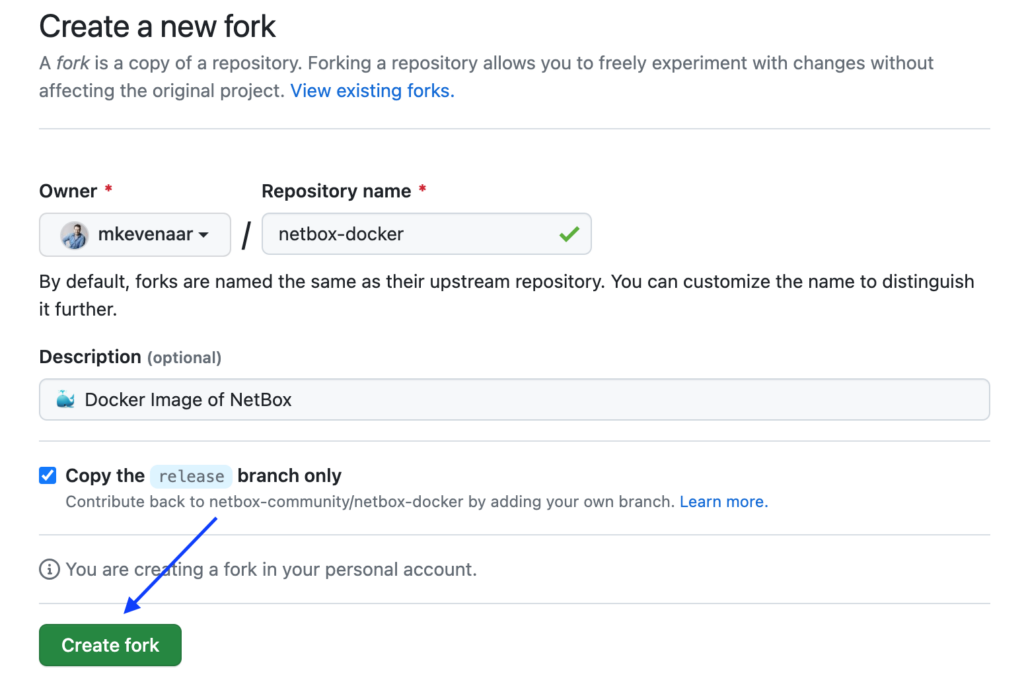
On the newly opened page, click the Create Fork button to create a fork of the NetBox Docker Git Repository. There is no need to make any changes on this page.
Wait until GitHub has created the fork, this may take a couple of seconds.
Once the fork is created, a similar view is created of the original repository. We start with editing an existing file to ensure the superuser is created on the first start. This is required because from within Portainer you cannot start a shell within the NetBox containers. Whether this is an issue with Portainer or the way the NetBox containers are set up, I could not tell.
NOTE: The following steps can be done within the web interface or, if you are comfortable using Git yourself, feel free to do so.
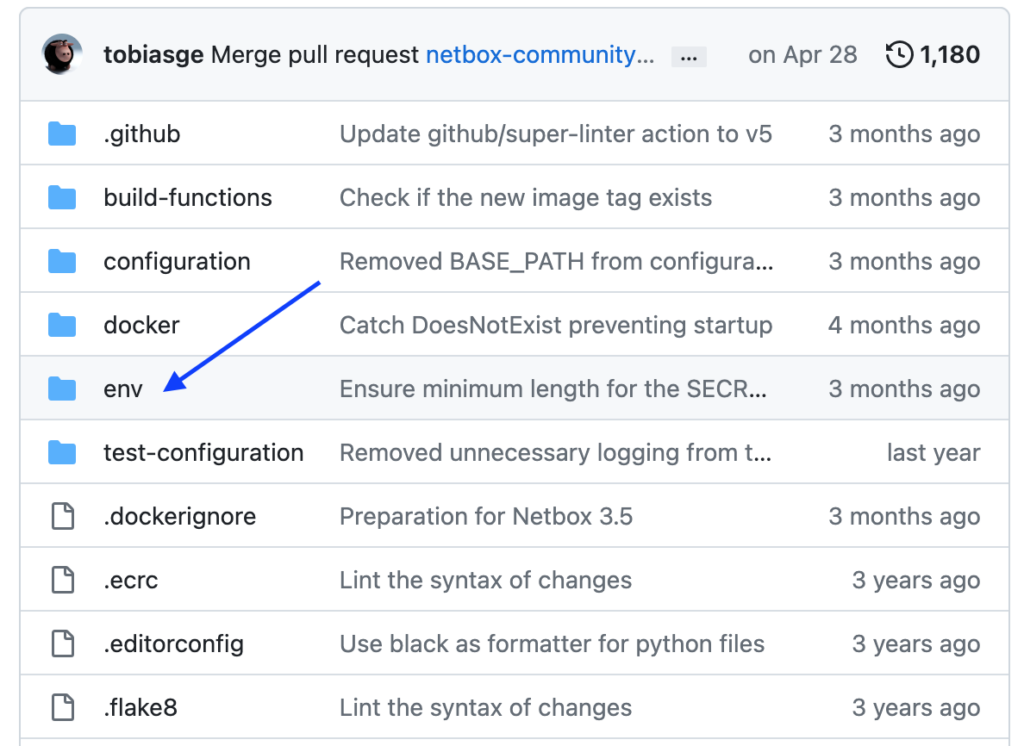
Within the browser, click the env folder
Click on the netbox.env file.

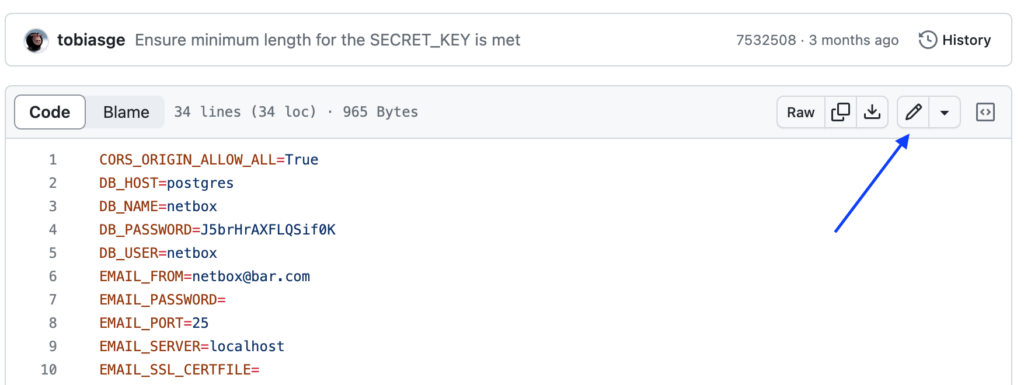
Click the Pencil icon on top to edit the file
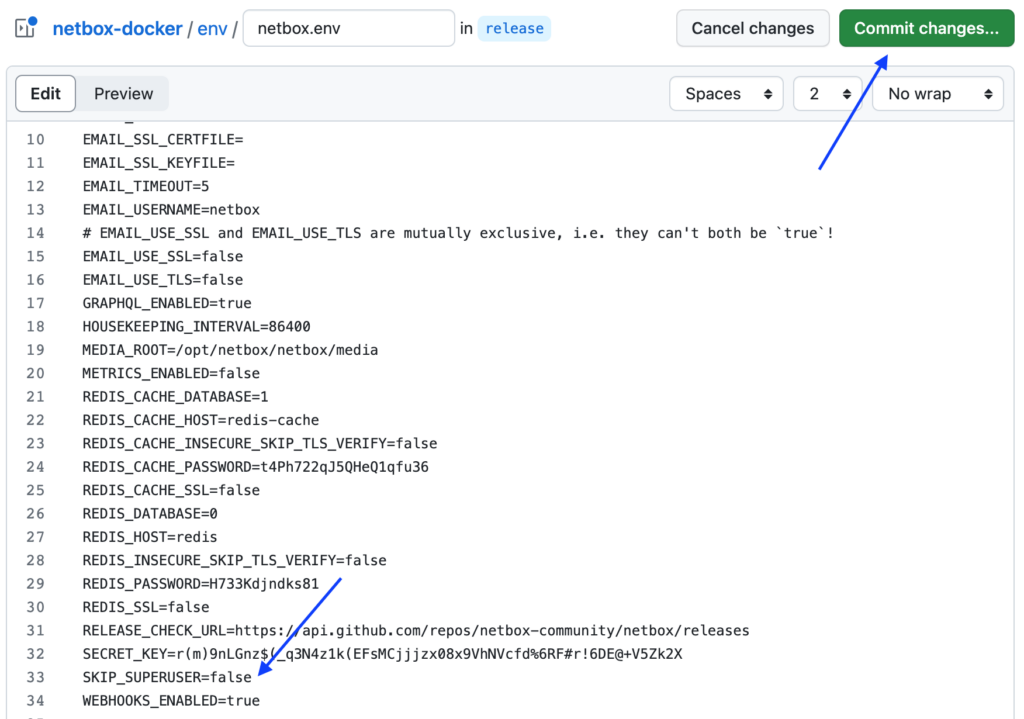
Scroll down to the SKIP_SUPERUSER=true line and change it to false. Then click on Commit changes…
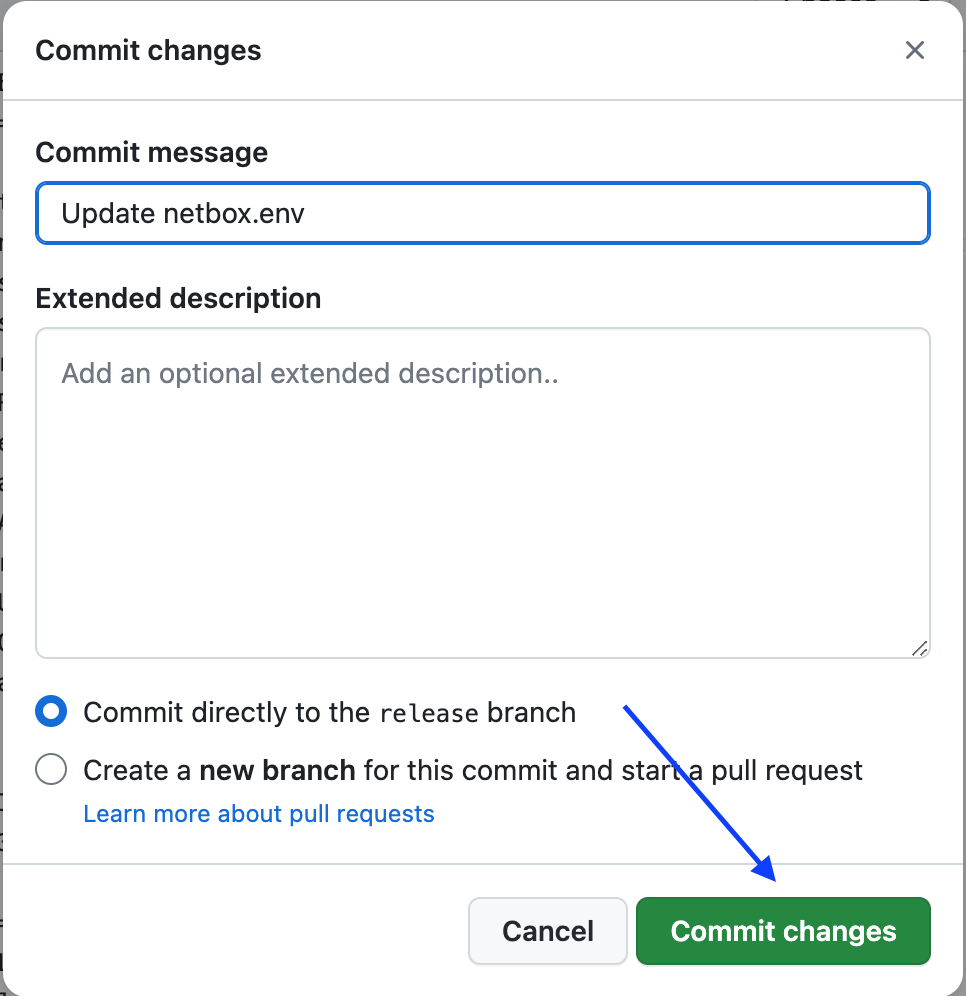
On the newly created dialog, edit the Commit message and Extended description if you desire to do so, and click Commit changes
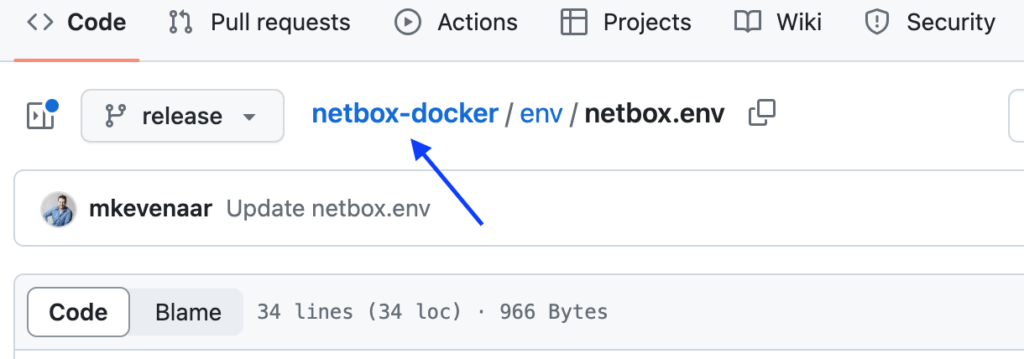
Once the changes are committed, you should see the value changed on the page. Click on the netbox-docker link on top to continue.
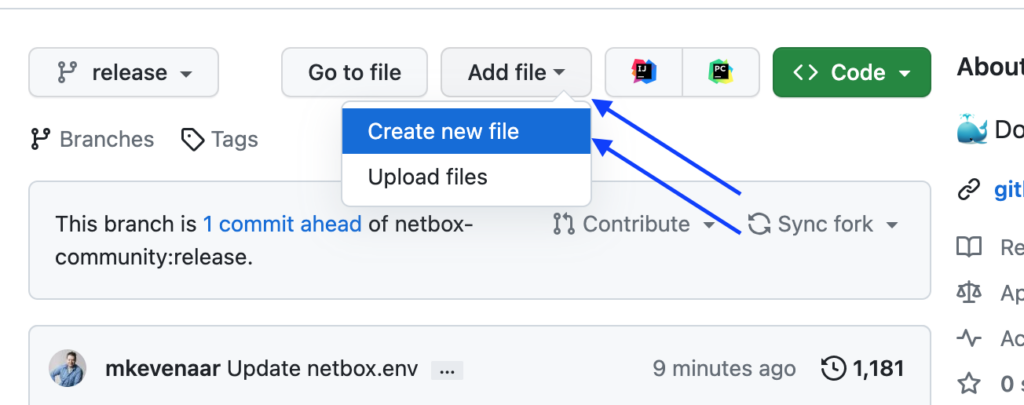
We are now creating a new file that includes our overrides. I prefer to use an override file in case NetBox would update the main file, merge conflicts will be a pain to resolve on updates. Click on Add file and then Create new file.
Name the file docker-compose.override.yml and paste the code below. Then click on Commit changes… again.
version: '3.4'
services:
  netbox:
    ports:
    - 8080:8080
    volumes:
    - /volume1/docker/netbox:/etc/netbox/config:z,ro
    - netbox-media-files:/opt/netbox/netbox/media:z,rw
    - netbox-reports-files:/opt/netbox/netbox/reports:z,rw
    - netbox-scripts-files:/opt/netbox/netbox/scripts:z,rw
    healthcheck:
      retries: 15
  netbox-worker:
    volumes:
    - /volume1/docker/netbox:/etc/netbox/config:z,ro
    - netbox-media-files:/opt/netbox/netbox/media:z,rw
    - netbox-reports-files:/opt/netbox/netbox/reports:z,rw
    - netbox-scripts-files:/opt/netbox/netbox/scripts:z,rw
  netbox-housekeeping:
    volumes:
    - /volume1/docker/netbox:/etc/netbox/config:z,ro
    - netbox-media-files:/opt/netbox/netbox/media:z,rw
    - netbox-reports-files:/opt/netbox/netbox/reports:z,rw
    - netbox-scripts-files:/opt/netbox/netbox/scripts:z,rw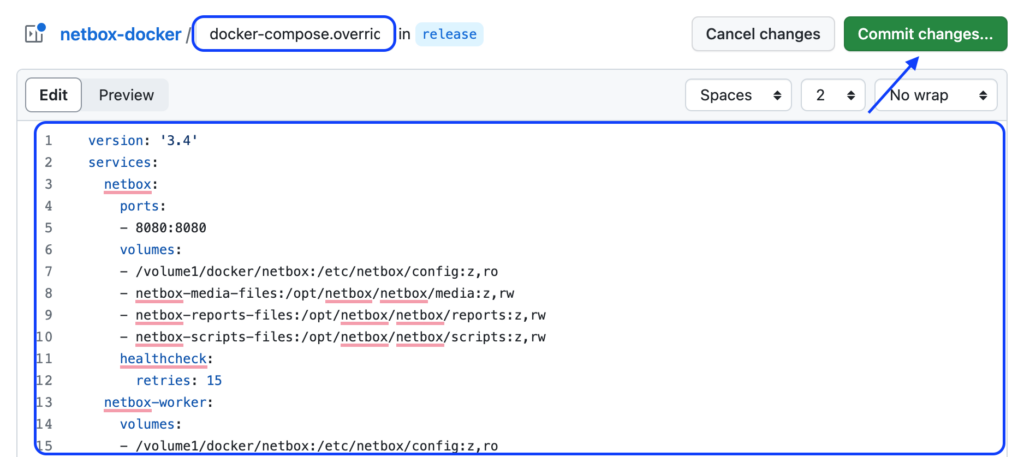
- Ports is been changed to 8080, compared to the documentation. Port 8000 is already used by Portainer and therefore cannot be used again.
- Volumes are changed to match the layout of the Synology NAS for all 3 NetBox Containers.
- Retries is changed to 15 times (defaults 3), some Synology NAS models are slower and take more time for the database changes.
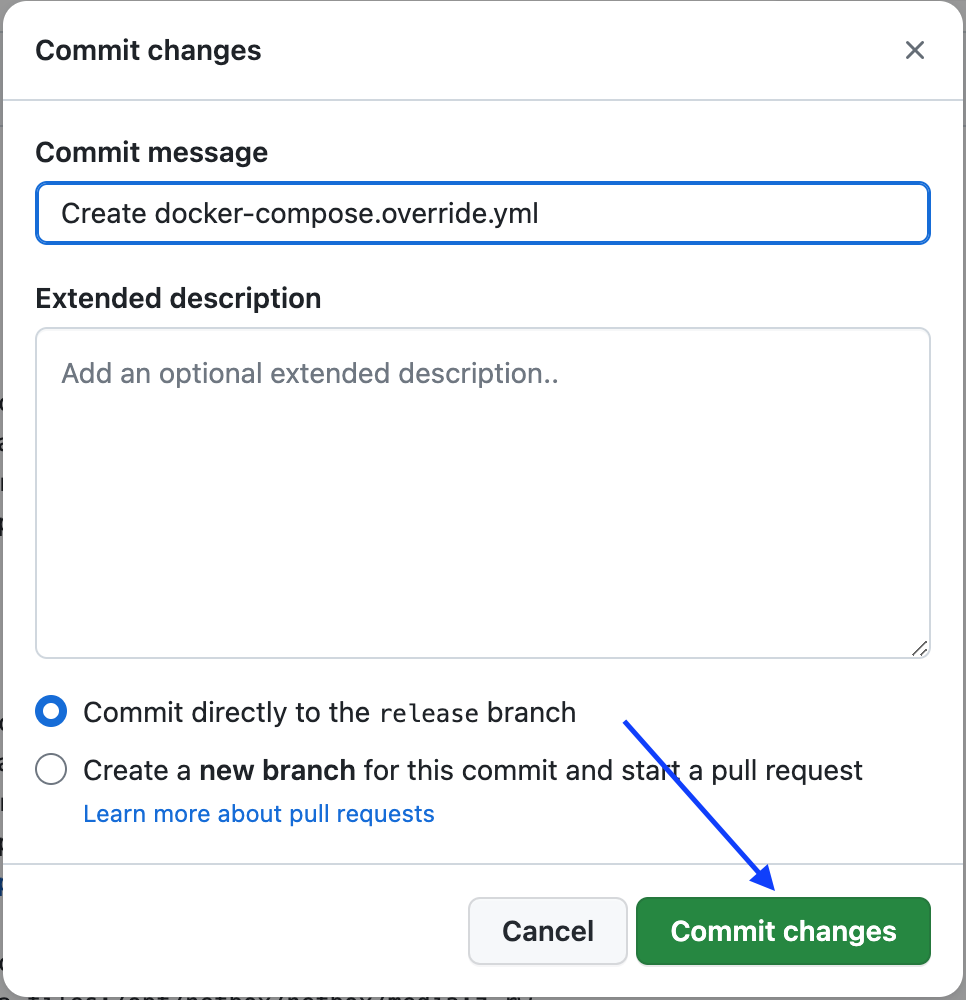
In the new dialog, click Commit changes.
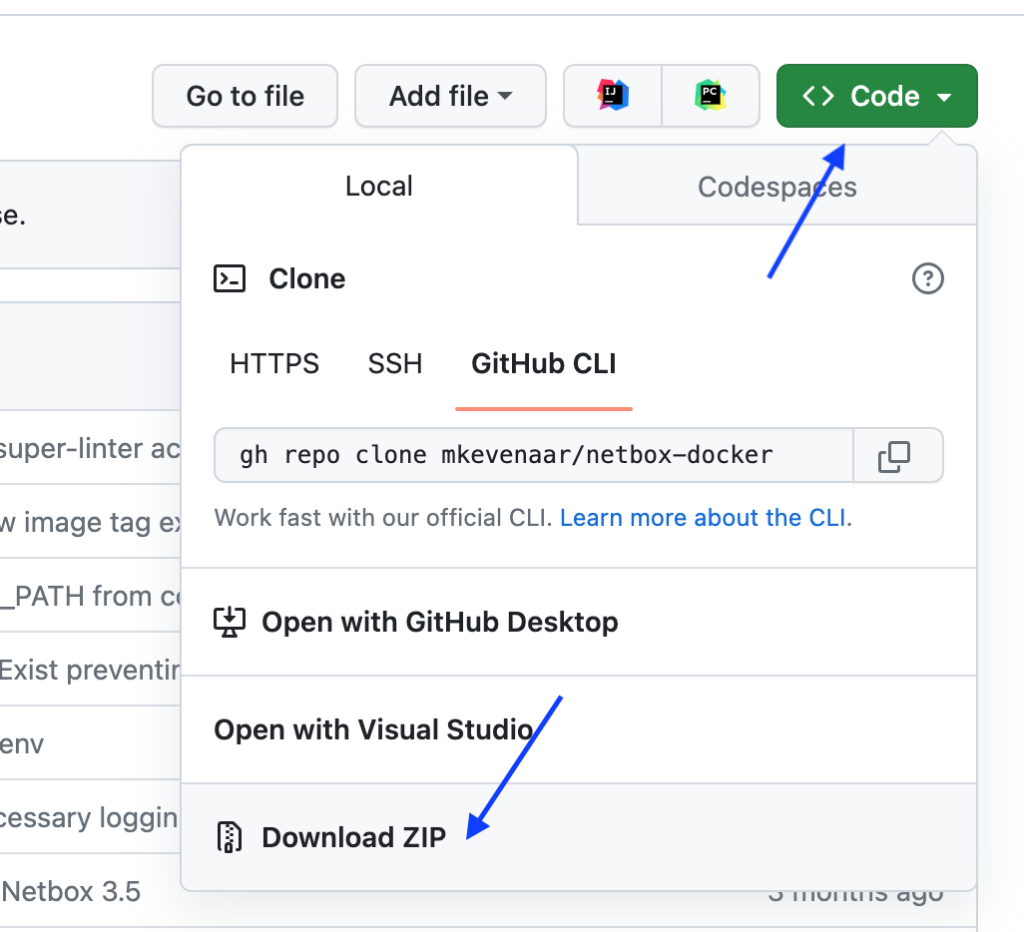
Click on <> Code -> Download ZIP
Extract the netbox-docker-release.zip file using your favorite ZIP extract utility.
Using Finder or Windows Explorer, connect to your NAS Docker folder.
- (Mac): Switch to Finder, press Command + K and type smb://ip-of-synology/docker
- (Windows): Open Windows Explorer and in the address bar type \\ip-of-synology\docker
Create a new folder netbox. In that folder, paste the content of the configuration folder found in the extracted netbox-docker-release.zip file.

This is a macOS screenshot, it should be a similar view on Windows.
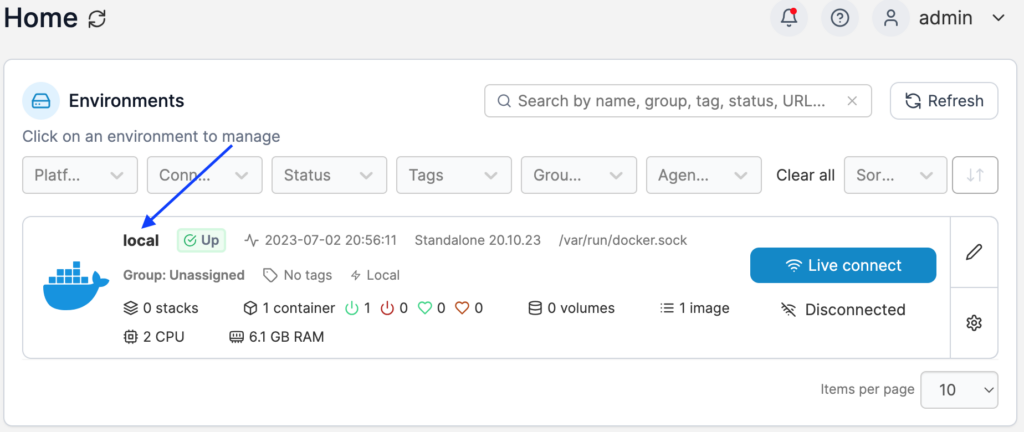
Now switch to the Portainer web interface. Should be http://ip-of-synology:9000. Log in if you have been logged out. Click on the local environment.
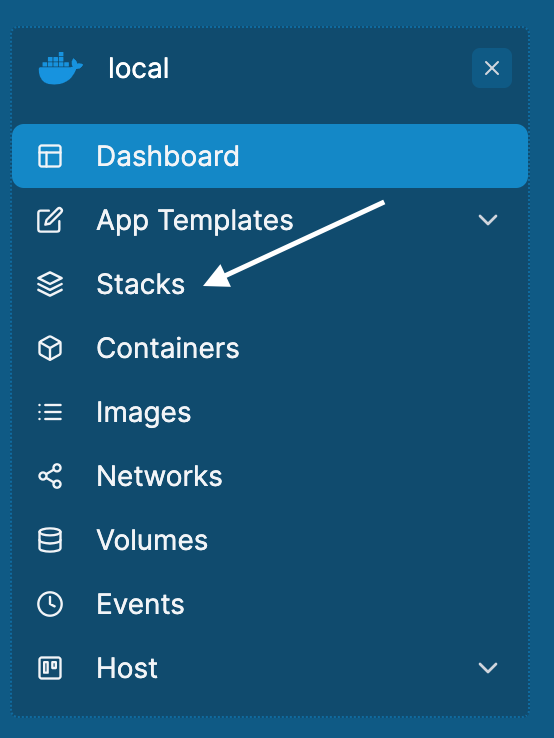
On the left side, click on Stacks
Click on the + Add stack button.

Give your stack a name in the Name field, e.g. netbox-docker. It can only contain lowercase letters. Change the Build method to Repository. In the Repository URL enter the URL for your GitHub Repository. This is different for every user and depends on your GitHub username. Click on + Add file below Additional paths. In the newly added field, enter docker-compose.override.yml. Scroll to the bottom and click Deploy the stack.
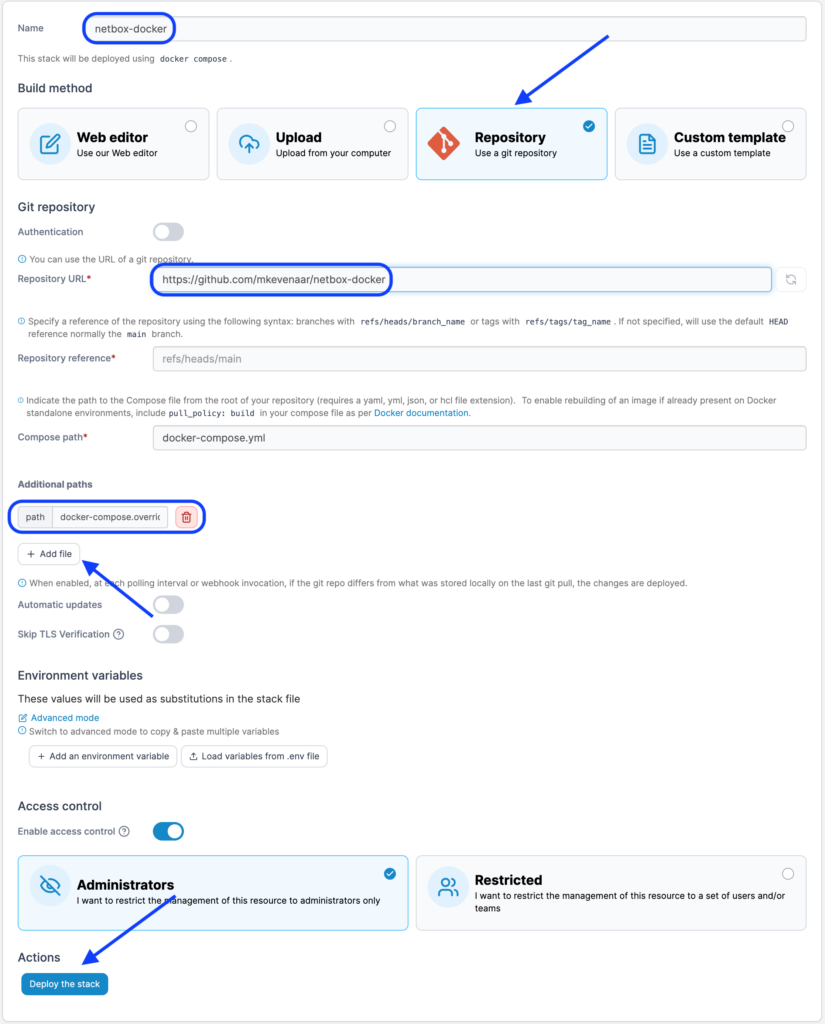
The deployment can take a while and might end up in an error. Please retry a couple of times before calling it a fail. The deployment does all the schema updates, depending on the speed of your NAS, these can take a while. Do NOT browse away from this page!
You will most likely receive an error message that the deployment failed. This is due to the fact that Portainer does not wait long enough for starting the container. Wait about 5 minutes before continuing.
Try to browse to http://ip-of-synology:8080 and see if NetBox starts. If not, try pressing the Deploy the stack button again.
If you see the start page of NetBox, the deployment is complete, and you should be able to Log in with the username admin and password admin.
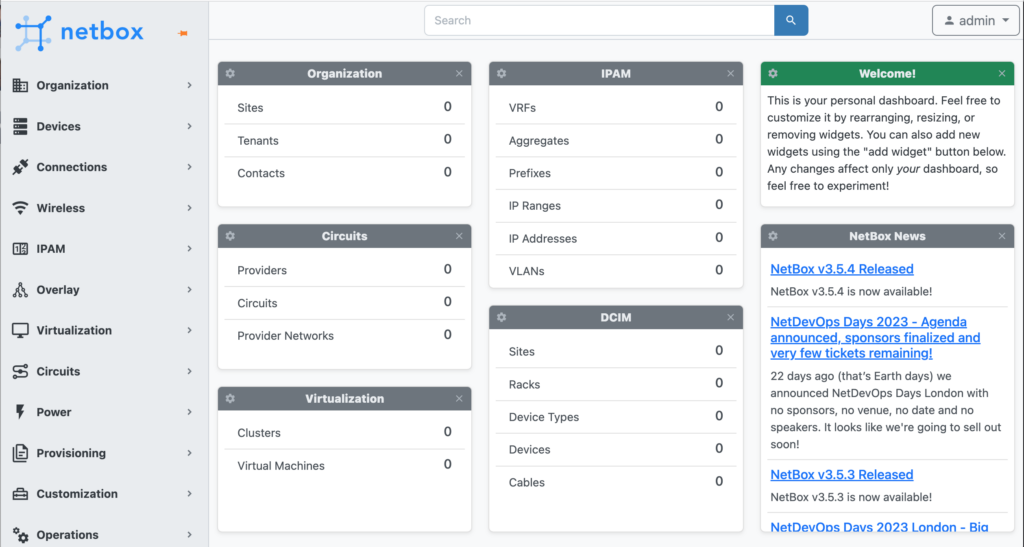
NetBox is installed with default usernames, passwords, API keys, and secret keys. Changing the passwords is advised, but should be done on a PRIVATE repository and/or server.
If you have any questions or issues, head over to the NetDev Slack and join the #netbox-docker channel.
Great article !
I guess you have a pretty recent Synology NAS. On older ones it will not work. Mine is DS916+
I managed to do the same thing as you but without portainer, just with “container manager”.
It works pretty well until the final step, when netbox inject config into “Nginx Unit” in “launch-netbox.sh” with command
“curl –request PUT –data-binary “@/etc/unit/nginx-unit.json” –unix-socket /opt/unit/unit.sock http://localhost/config”
It throws this error “[alert] 376#376 *4 memfd_create(/unit.376.4a12b42c) failed (38: Function not implemented)”
Unfortunately it’s a known issue with Nginx Unit
https://github.com/nginx/unit/issues/111
https://github.com/nginx/unit/issues/267
You need to have a kernel > 3.17 to be able to use Nginx Unit with mem_fd feature enabled, and … unfortunately on DS916+ kernel is 3.10.108
it was just a little information if someone tries to do the same thing with an old NAS 😉