Page Contents
Introduction
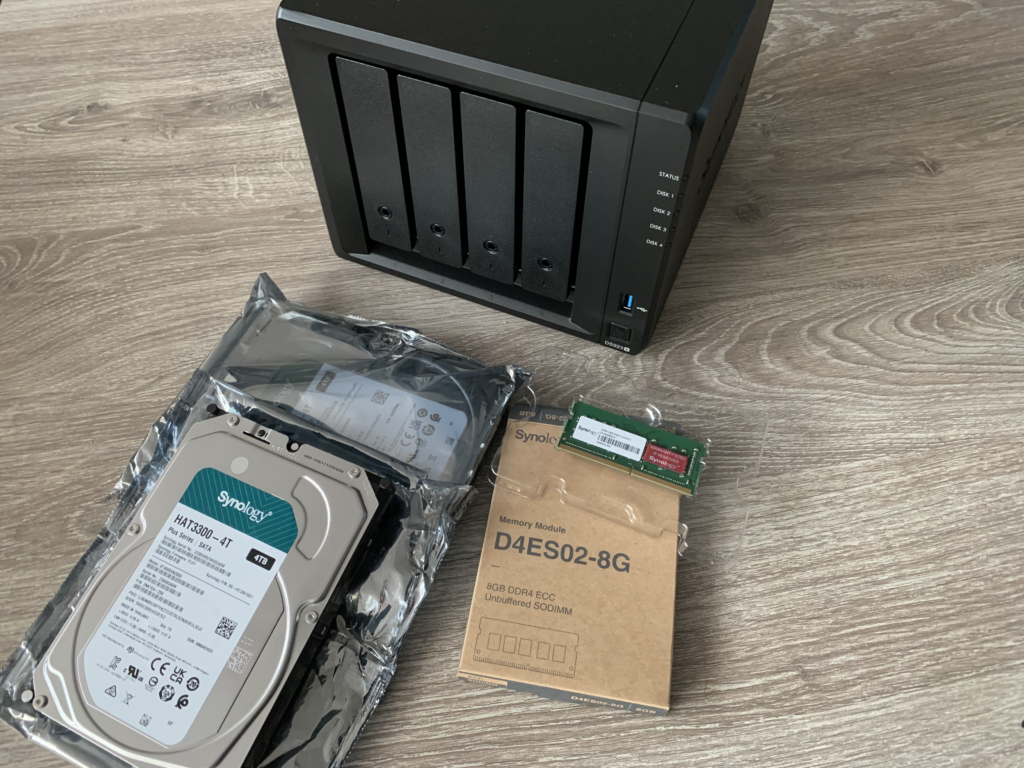
Recently fellow co-vanguard Nico Stein helped me to get in touch with Synology to become a product reviewer. After an excellent talk with Nick over at Synology, he helped me to get a Synology Disksation DS923+, including a D4ES02-8G 8GB memory upgrade, an E10G22-T1-Mini 10Ge Ethernet module, and two of the brand spanking new, not released to the public HAT3300-4T disks.
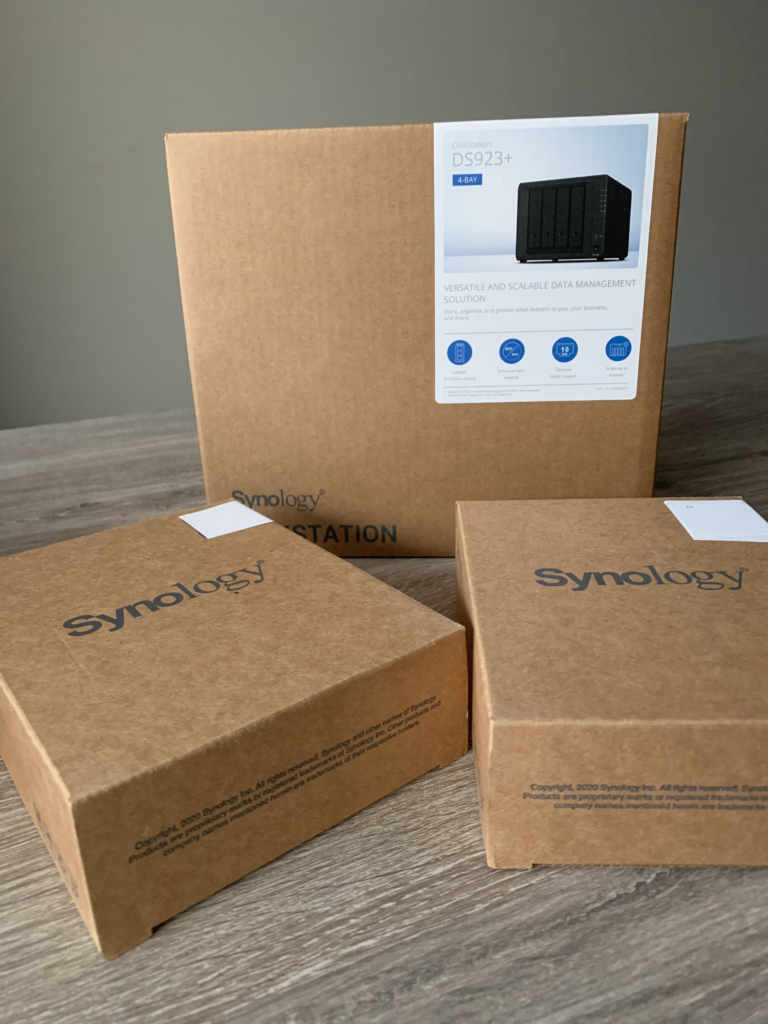
After unpacking, the 8GB module appeared in one of the Disk packages. Unfortunately, the 10Ge Ethernet module was missing completely from the parcel, but Nick ensured me that it will get shipped afterward.
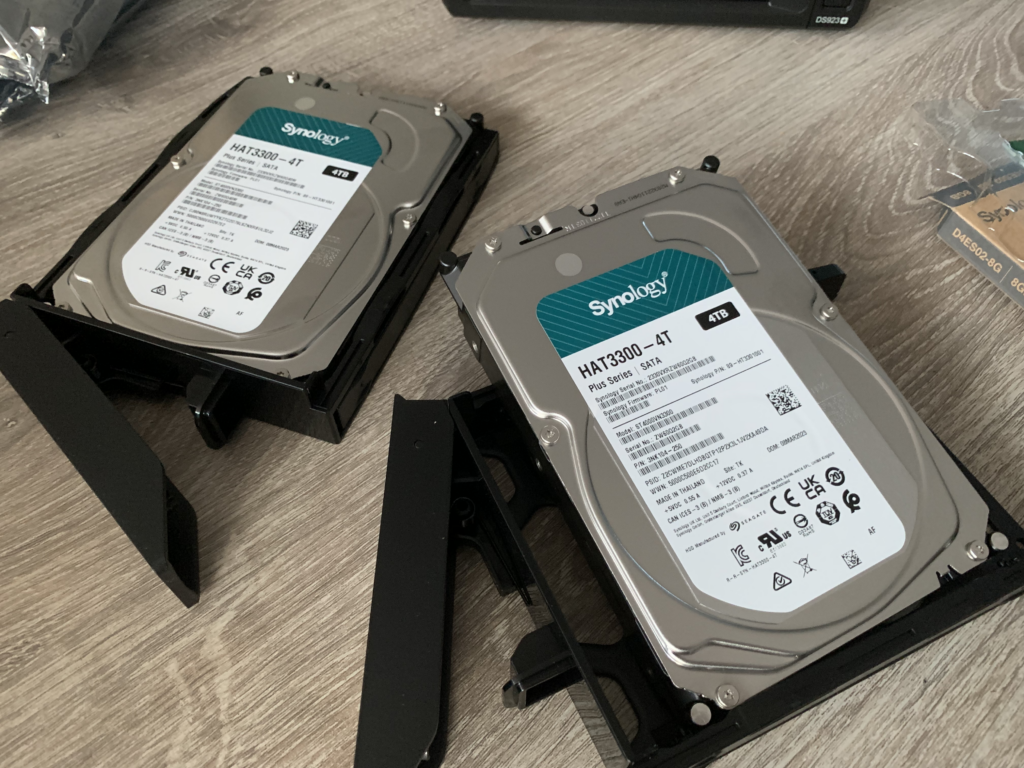
Installing 3.5″ drives in these NAS models is easy. You pop out the drive bay, remove the plastic holders on the sides, slide the disk in with the SATA connector to the back, and put the plastic holders back in. If you have 2.5″ drives, Synology has provided screws in the package to screw them in. Always refer to the product documentation if you have questions, or if you are unsure how to do it!
This DS923+ NAS will replace my current DS420+ as my primary NAS and the DS420+ will become my backup NAS.
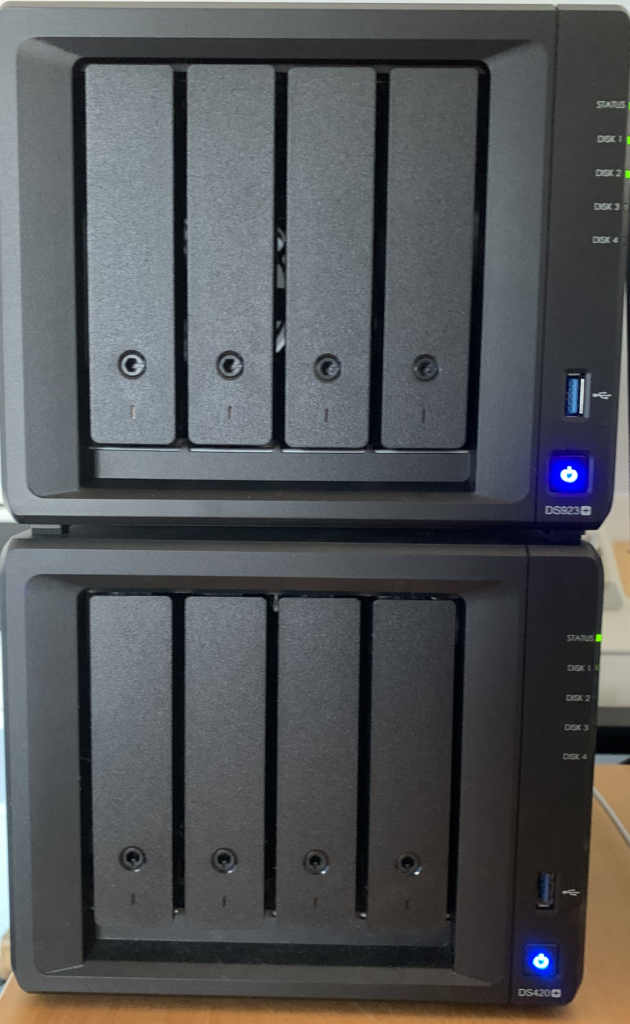
Note: The NAS models have been put on top of each other for the photo only, you should never put the NASes that you use for primary and backups in the same place. Put as much distance between the two devices as possible, preferably even two different addresses.
The DS923+
This model is equipped with an AMD Ryzen R1600 CPU, 4GB DDR4 ECC memory which can be replaced, 4 Drive bays, and 2 NVMe slots in the bottom. By default, it comes with 2 RJ45 1Ge interfaces. You can upgrade this module with a single 10Ge RJ45 module and a maximum of 32G memory. Full specs can be found on the Synology website.
Installing the NAS is easy. Install the drives and any additional hardware like memory, NVMe drives, or Memory. Afterward, connect it to your network and go to http://synologynas.local:5000 and follow the steps on the screen.
Active Insight
After installation, I immediately installed and configured Active Insight on my NAS. This service is not free and the price might differ on the location you are at, however, it’s a very nice utility for monitoring your NAS. You can log in with your Synology account on the Active Insight page to get started.
The software helps you with 24/7 monitoring of your NAS and, in case of a support case, optionally allows support to view the diagnostic data. It will send you an alert if there is an issue with one of your devices. For example, I got this alert after inserting an M.2 NVMe drive that was about to die.

While monitoring in this is possible with SNMP and/or email notifications, you will have to reinvent the wheel to achieve the same. With Active Insight, you can even set up custom events if you would like.
Central Management
When having multiple Synology devices, Central Management might be something you would be interested in. Setup is easy, just install the Central Management package on your main NAS, add the additional devices with local credentials and that’s it!
What’s next
I’ll be testing the device, playing around with features that I haven’t used before, making comparisons between Veeam and Active Backup, and possibly other subjects.
Disclaimer: These products are provided to me, free of charge. No money has exchanged hands. The opinions are my own. This post hasn’t been provided to the supplier before it was released to the public
No Comments Yet